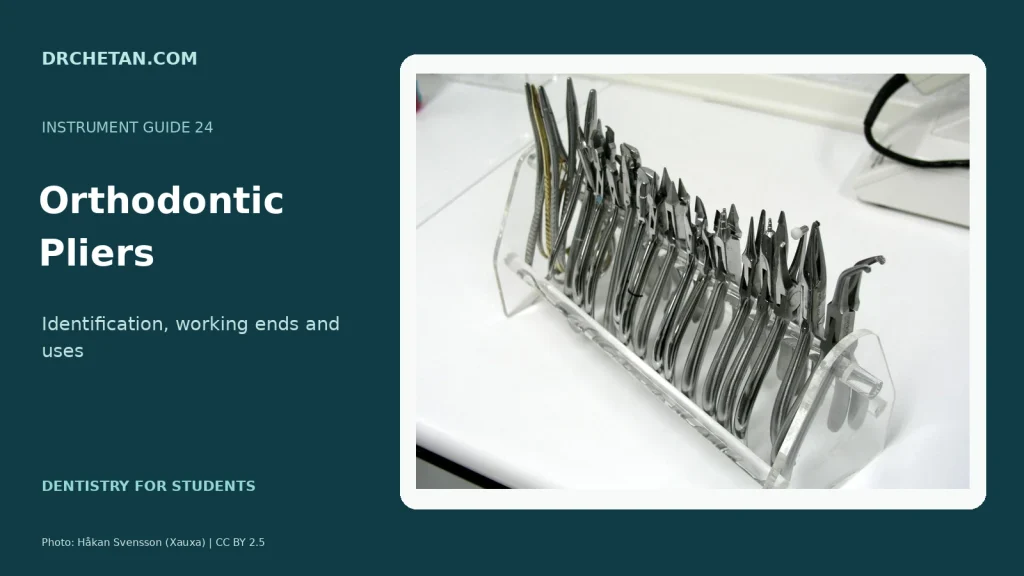
Orthodontic pliers may grip, bend or cut. Begin by identifying that action, then inspect the jaws. Similar handles do not mean that two instruments can be used for the same wire or task.
A learning guide for dental students. Clinical instrument use requires practical training and supervision.
Visual reference
First separate gripping, forming and cutting
| Family | Working-end clue | Broad role |
|---|---|---|
| Gripping / utility pliers | Opposing gripping jaws, often serrated | Holds and guides suitable components |
| Wire-forming pliers | Defined jaw shapes used as forming surfaces | Bends or contours wire within rated limits |
| Cutters | Opposed cutting edges | Cuts the specified wire material and size |
| Removal instruments | Specialised contact surfaces or protective pads | Removes a specified band, bracket or component |
A cutter is not a universal substitute for a utility plier. Gripping wire with cutting edges can damage both the wire and the edges. Conversely, a plier with strong handles is not a cutter unless its working end is designed for cutting.
Bird-beak pliers
A familiar bird-beak pattern has one round or conical beak opposing a more pyramidal or flat-sided beak. The round surface helps form a curve or loop, while the opposing beak provides support. It is a wire-forming instrument.
The jaw shape, tip length and permitted wire sizes vary between models. HuFriedyGroup describes one bird-beak product for forming round wire up to its specified limit. That number belongs to that model; it must not be applied automatically to every bird-beak plier or to every wire alloy.
Do not identify a plier by the taper of a single jaw in a photograph. Look for the relationship between both beaks and confirm the product marking.
Weingart utility pliers
Weingart pliers typically have tapered, angled, serrated gripping jaws. Their shape helps the clinician hold and guide suitable archwire or other components with access around the dental arch. They are principally utility or gripping pliers, not wire cutters.
The serrations provide grip but do not prove an unlimited holding capacity. Jaw form and manufacturer instructions still matter. “Weingart” should not be assigned to every angled orthodontic plier, particularly when a photograph does not show the gripping faces clearly.
Three-prong and Adams pliers
| Pattern | Recognition point | Broad use |
|---|---|---|
| Three-prong / three-jaw | One central prong working between two opposing outer prongs | Forms selected bends or contours in compatible wire |
| Adams | Opposing, relatively flat rectangular beaks in the familiar pattern | Forms and adjusts suitable wire, including clasps in removable-appliance teaching |
Three-prong describes the arrangement of the working contacts. Inspect the open jaws rather than expecting three separate handles. Adams pliers are often encountered when learning removable appliance clasp construction, but their exact capacity remains product-specific.
A named pattern is a family rather than a universal engineering specification. Miniature, heavy-duty and specialised variations can differ in tip dimensions and permitted wire.
Distal-end cutters and ligature cutters
A distal-end cutter is intended for cutting the distal portion of a compatible archwire. Many designs also retain the cut segment, reducing the chance that it becomes loose in the mouth. Cut-and-hold capability, however, must be confirmed for the actual model and wire; do not assume that every distal-end cutter retains every size of wire.
A fine ligature cutter has a more delicate cutting end intended for suitable ligature wire. It should not be used on heavy archwire merely because it can be placed around it. Such misuse can damage or fracture the cutting tips.
Hard-wire cutters are another category with their own specifications. Read the stated diameter or rectangular-wire range and alloy restrictions. A capacity listed for stainless steel cannot automatically be transferred to nickel–titanium or another material.
Clinical cutting requires protection and control of loose wire segments. This guide is for identifying instruments, not a home method for trimming a fixed orthodontic appliance. Patients with a loose or sharp wire should contact their treating practice.
How to use the photographic reference
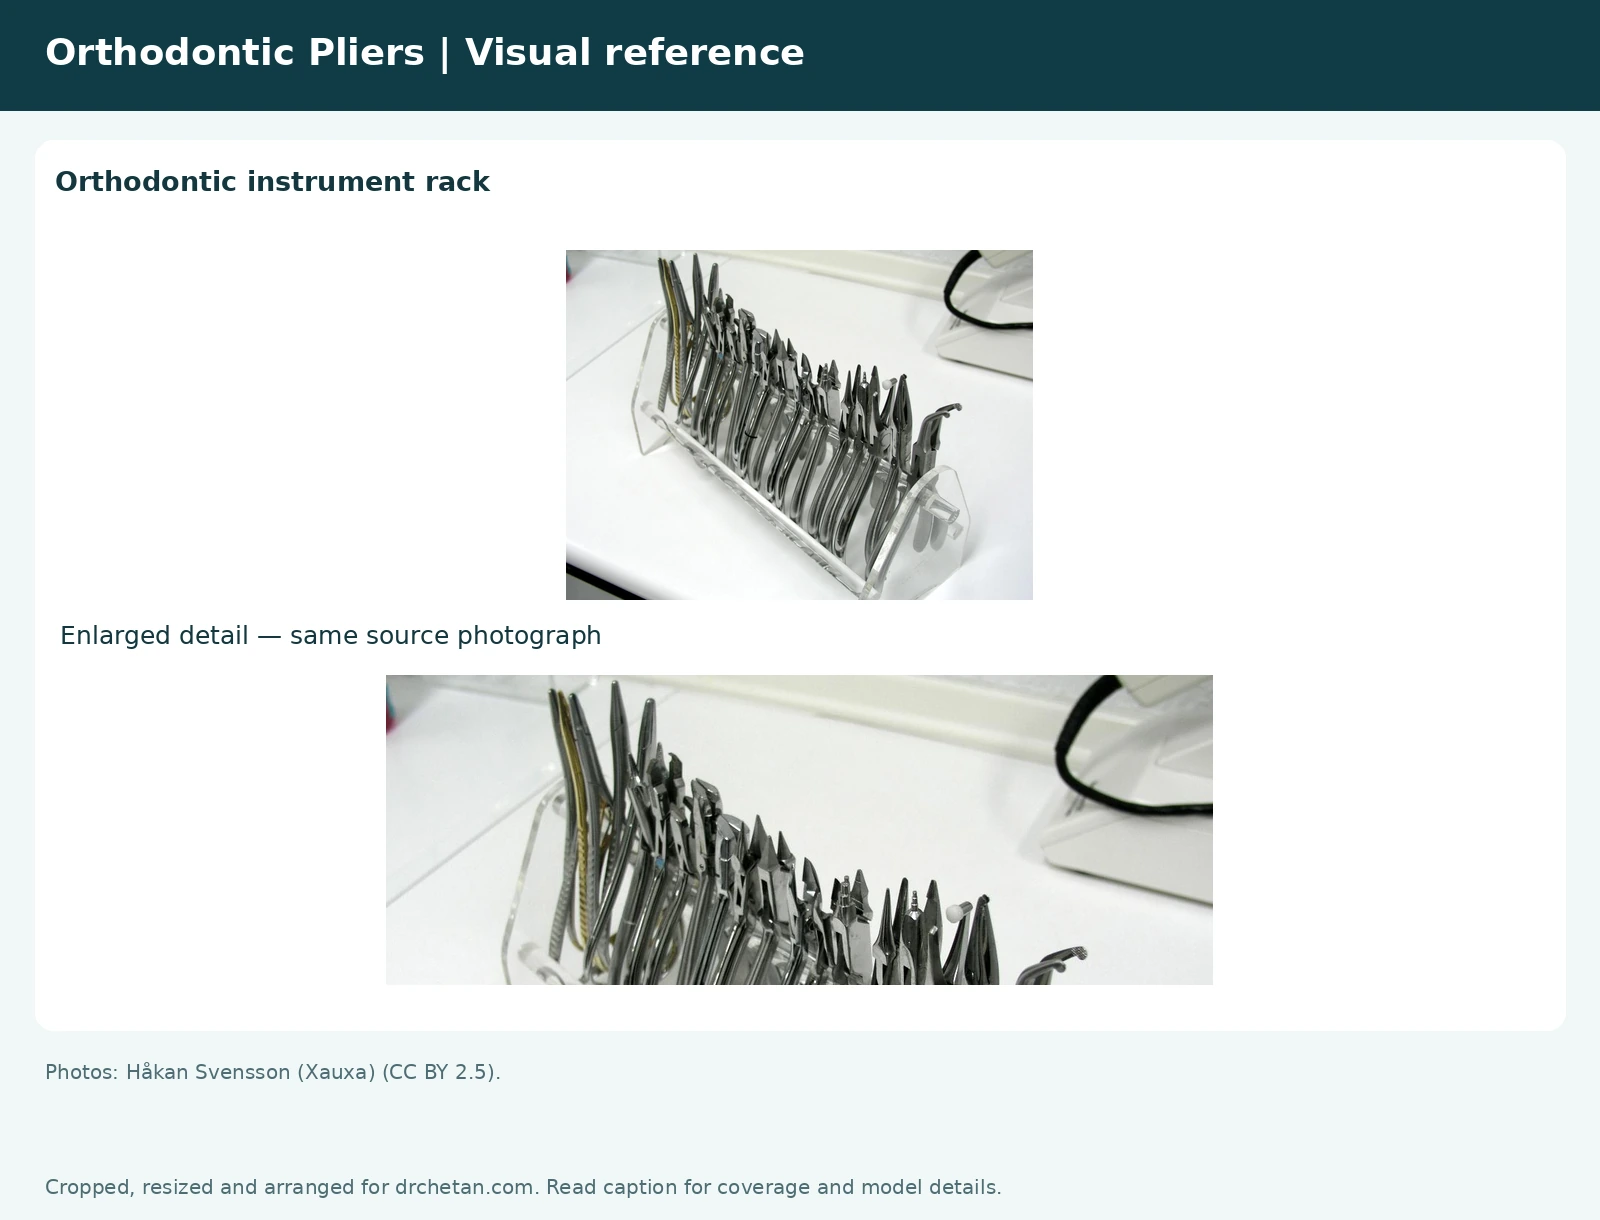
The reference image shows a real rack of orthodontic instruments. It is useful for seeing the variety of jaw sizes, angles and handle forms. The source does not name every instrument, so the rack positions are not labelled as specific named patterns.
For reliable revision, compare the photograph with the manufacturer catalogue linked below and, where possible, the labelled instruments in your department. Take a second view of the open jaws: a closed tip can conceal serrations, a cutting edge or the round-versus-flat beak relationship.
Never identify an insert material, coating or cutting capacity solely from handle colour. Gold-coloured handles may be associated with certain inserts in some ranges, but colour is not a universal technical specification.
Viva sequence, inspection and care
- State whether the instrument grips, forms, cuts or removes.
- Describe both jaws, including serrations, contact surfaces or cutting edges.
- Name the pattern only when the features support it.
- Confirm wire compatibility from the exact product instructions.
- Check alignment, tip condition, hinge action and reuse instructions.
Damaged or misaligned tips can produce poor control and may break. Do not test a fine cutter on an arbitrary piece of heavy wire to see whether it still works. Sharpening, servicing and lubrication must follow the manufacturer’s instructions.
Viva example: “This is a bird-beak wire-forming plier. Its round and opposing flat-sided beaks help form suitable curves or loops. I would check the model’s permitted wire size and alloy before use.”
Frequently asked questions
Is a Weingart plier a cutter?
Its principal role is gripping and guiding suitable components; it is not a substitute for a specified wire cutter.
What distinguishes bird-beak pliers?
The familiar pattern combines a round or conical beak with an opposing pyramidal or flat-sided beak.
Why are three-prong pliers called that?
Their working end has a central prong opposed by two outer prongs.
Does every distal-end cutter hold the cut wire?
No. Confirm cut-and-hold capability and the wire range for the actual model.
Can a ligature cutter cut any orthodontic wire?
No. Fine ligature cutters must only be used within their stated material and size limits.
References and further reading
- HuFriedyGroup: orthodontic catalogue and pattern photographs
- HuFriedyGroup: bird-beak pliers
- HuFriedyGroup: Weingart pliers
Featured-image photograph: Håkan Svensson (Xauxa) — original source (CC BY 2.5). Resized and arranged with title. Adapted visual: CC BY-SA 4.0.
Explore more dental instrument guides and articles for dental students.

Leave a Reply