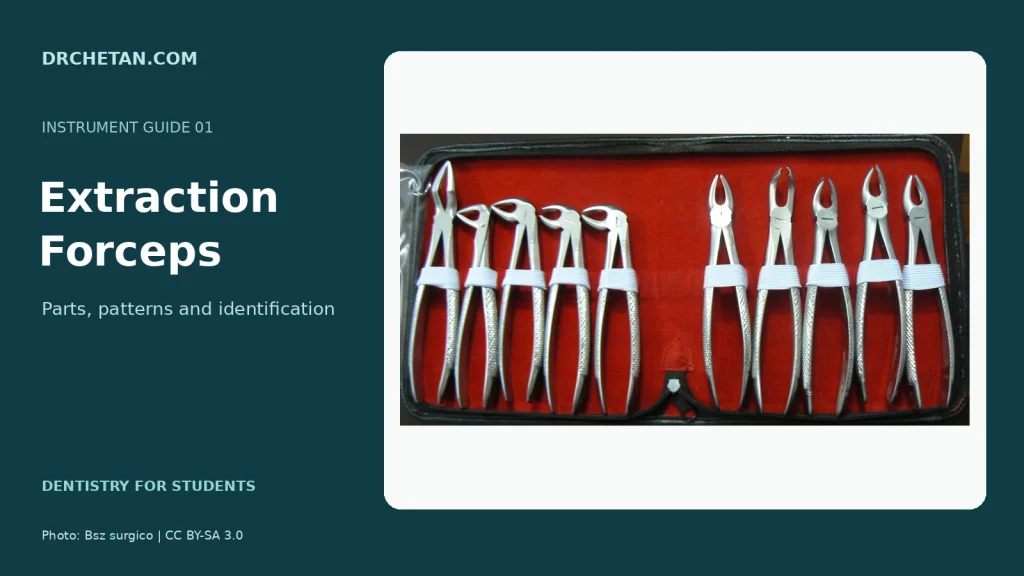
Extraction forceps are designed to grasp a tooth or root during removal. Their shape helps the operator reach the tooth and adapt the beaks to its anatomy. For practical examinations, identify the working end, the arch and tooth group before relying on a number.
Parts of extraction forceps
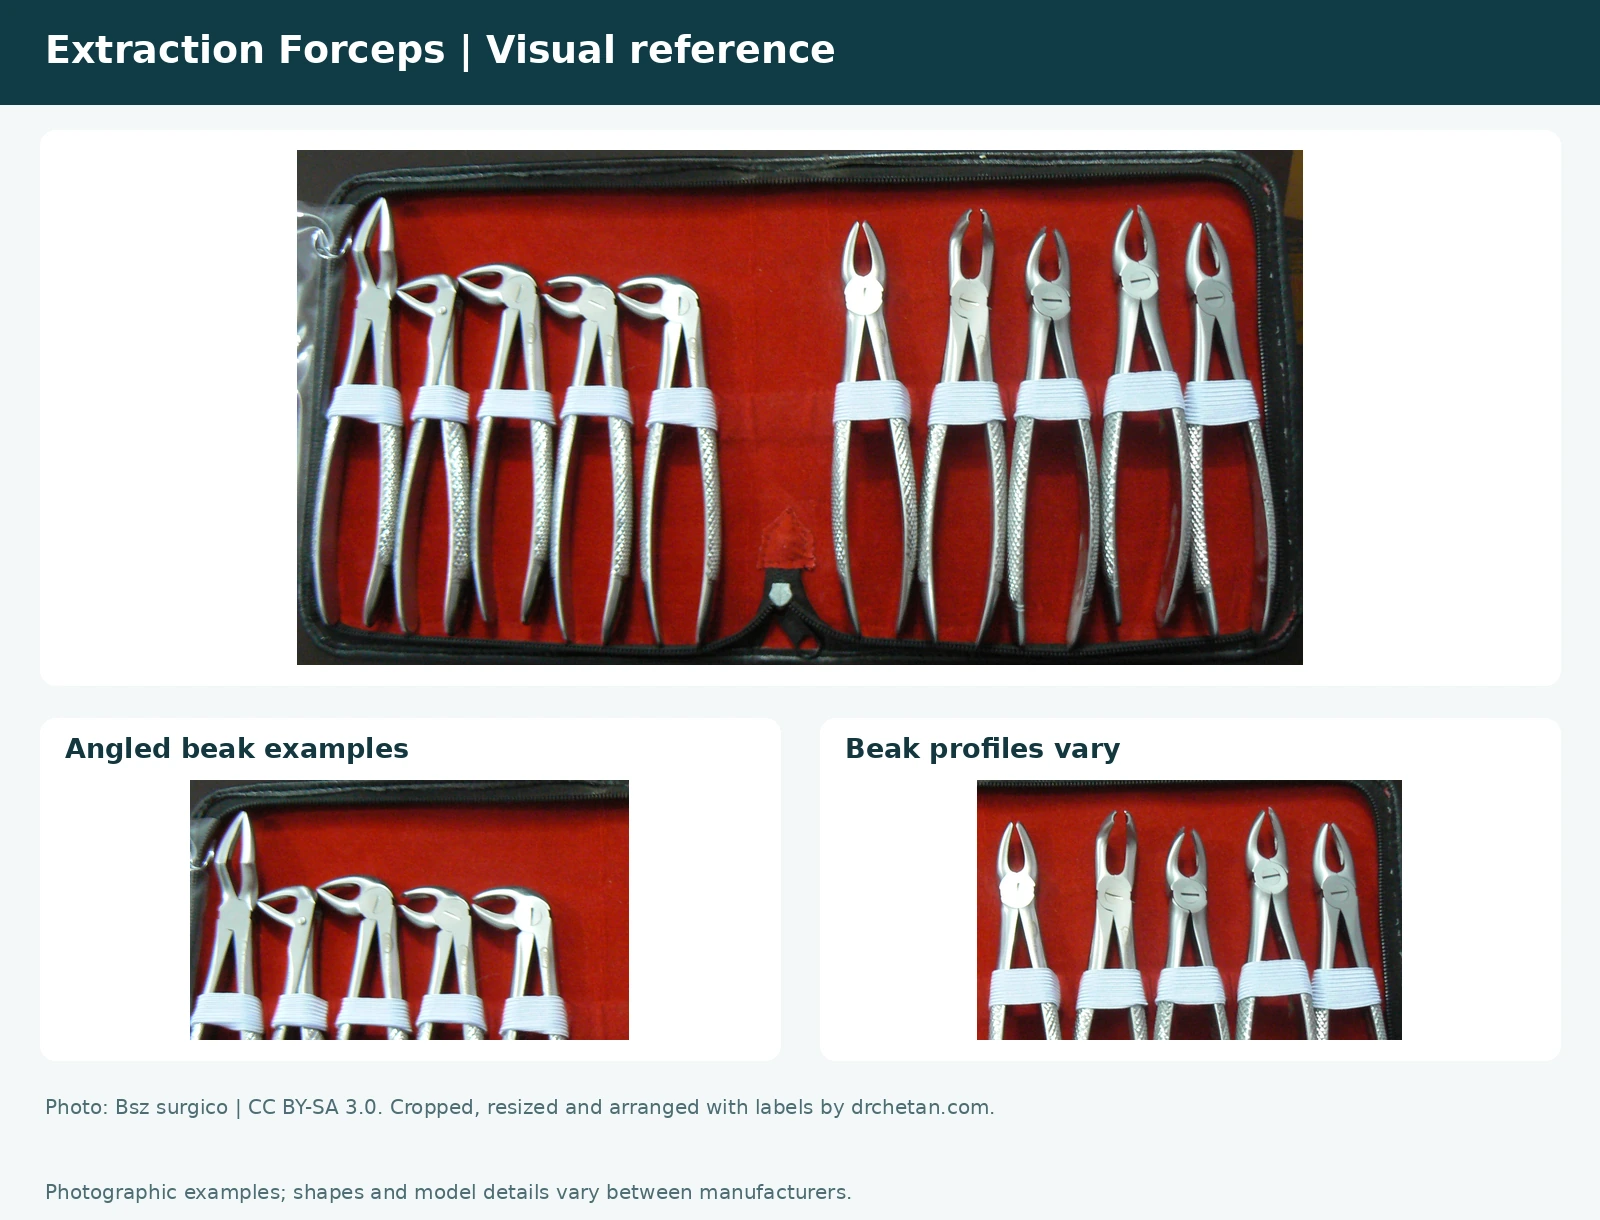
The handles provide the grip, the hinge connects the arms, and the beaks engage the tooth or root. Examine the relationship between the handles and beaks, their curvature and whether the beaks are symmetrical.
Photographic reference
Common forceps patterns
- Upper universal: generally symmetrical, curved beaks; used for several upper anterior and premolar teeth. Hu-Friedy describes its 150 pattern as upper universal.
- Lower universal: the beaks are angled relative to the handles to reach lower teeth. The 151 is one commonly catalogued example.
- Upper molar forceps: beak design accommodates the root anatomy; paired right and left designs can have a pointed buccal beak.
- Lower molar forceps: beaks are shaped to engage the lower molar region; cowhorn designs have prominent pointed beaks.
- Root forceps: narrow beaks assist access to suitable roots; different upper and lower designs exist.
- Paediatric forceps: smaller instruments shaped for primary teeth.
How to identify a forceps in a practical
Start with the handle–beak relationship. Look for symmetry, points on the beaks, and right- or left-sided design. Describe what you can see, then give the likely tooth group and the designation if you recognise the specific pattern. Manufacturer numbering and regional systems vary, so match a number to its catalogue rather than assuming it is universal.
Common catalogue examples: numbers with context
| Pattern | Example designation | Recognition point |
|---|---|---|
| Upper universal | 150 | Curved, conical beaks; broad use across upper anterior teeth, premolars and suitable roots. |
| Lower universal | 151 | Beaks angled for the lower arch; anterior teeth, premolars and suitable roots. |
| Upper molar, right/left | 18R/18L or 53R/53L | Asymmetrical beaks; the pointed buccal beak accommodates the buccal root bifurcation. |
| Lower molar cowhorn | 23 | Prominent pointed beaks designed for the molar furcation region. |
| Upper root/bayonet | 65 | Offset shanks and narrow conical beaks for suitable upper root fragments. |
These are examples from HuFriedyGroup’s catalogue, not a universal numbering standard. The number 150 denotes a pattern, not a tooth number. R and L refer to the patient’s side. The 150, 151, 53L and 65 descriptions help connect a designation to an actual design.
Why “universal” does not mean every tooth
A universal pattern covers several tooth groups within an arch. It does not make every root shape, damaged crown or position suitable for that forceps. Clinical selection depends on examination, imaging where indicated, remaining tooth structure and the extraction plan.
Forceps contribute to controlled tooth movement and socket expansion; extraction is not simply squeezing a crown and pulling. Root anatomy and the surrounding structures guide the movements taught in supervised clinical training. Primary teeth also require attention to the developing permanent successor.
Viva questions
How does a bayonet root forceps differ from a cowhorn?
A bayonet pattern is identified by its offset configuration and narrow beaks; a cowhorn has prominent pointed beaks suited to a molar furcation. Match the particular instrument to its catalogue indication.
What are the three main parts?
Handles, hinge and beaks.
Why do some upper molar forceps come in right and left pairs?
The beaks are shaped to correspond to the different buccal and palatal root anatomy.
What distinguishes a cowhorn pattern?
Its prominent pointed beaks; check the manufacturer’s stated application.
Can a number alone identify every forceps?
No. Check the manufacturer and the actual working-end design.
Further reading
HuFriedyGroup: Surgical forceps reference · 150 forceps product description
For study alongside practical teaching. Use this guide alongside your department’s instrument set and supervised practical teaching.
Continue learning in the Dental Instruments and Dental Students collections.
References checked 31 October 2026. Educational identification guide for use alongside textbooks and supervised clinical teaching.
Featured-image photograph: Bsz surgico — source photograph (CC BY-SA 3.0). Resized and arranged with title; adapted visual: CC BY-SA 4.0.

Leave a Reply